
A good friend of mine had a beautiful old radio in his attic. He was good enough to let me have a crack at restoring it to working condition.
It wasn’t clear why it no longer worked, but it was supposed that the tuner was dead. It’s a nifty little wooden cabinet with an AM radio inside its two doors and a couple of storage drawers below.
With a little prodding, I found that it was a model 484 “Spice Chest Radio” produced by the Guild Radio & Television Company in 1953. 1Guild “Spice Chest” Model 484 Radio, 1956

The internal serial number of this beauty was 09198. 2Guild Spice Chest novelty tube radio Check out how Guild attached it to the box – staple!

On to diagnosing. After opening the radio up, 50 years of dust and mild corrosion were evident.

But the radio was constructed well, and most of the parts looked to be holding up well. The circuitry underneath the radio was all built without a fiberglass printed circuit board, each of its components soldered directly together. PCBs weren’t invented until later.

I noticed that the dial string was broken on the tuner pulley. That was easy enough to reorder. I found a spool on the internet, of course. 3a great resource called Vintage Electronics

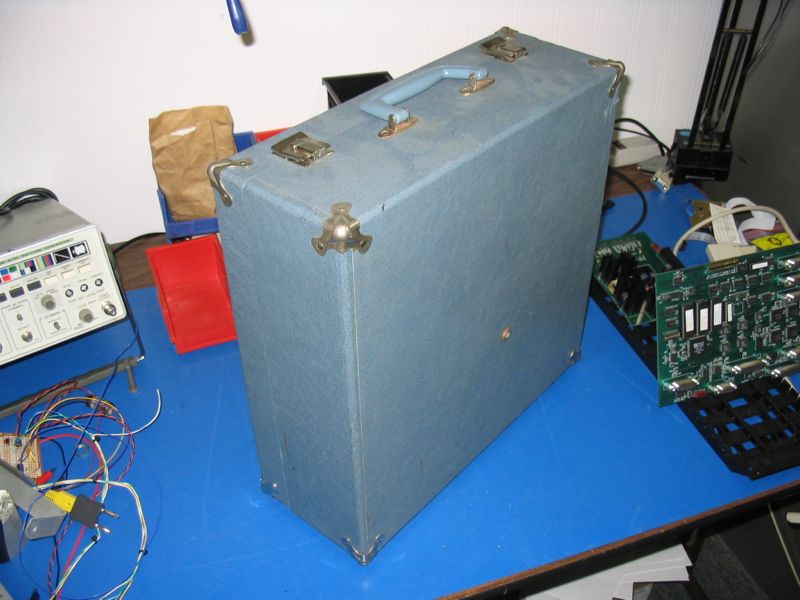
The next step was to test the vacuum tubes to make sure they were still operational. I completely lucked out for this, as a friend at work had an old tube tester, the Dyna-Jet 707. It’s a portable, suitcase-like box. It’s all self-contained (except for input 120AC power), a beautiful unit. It’s dated 1956, and itself is a great relic! Below are pictures of his Dyna-Jet vacuum tube tester:
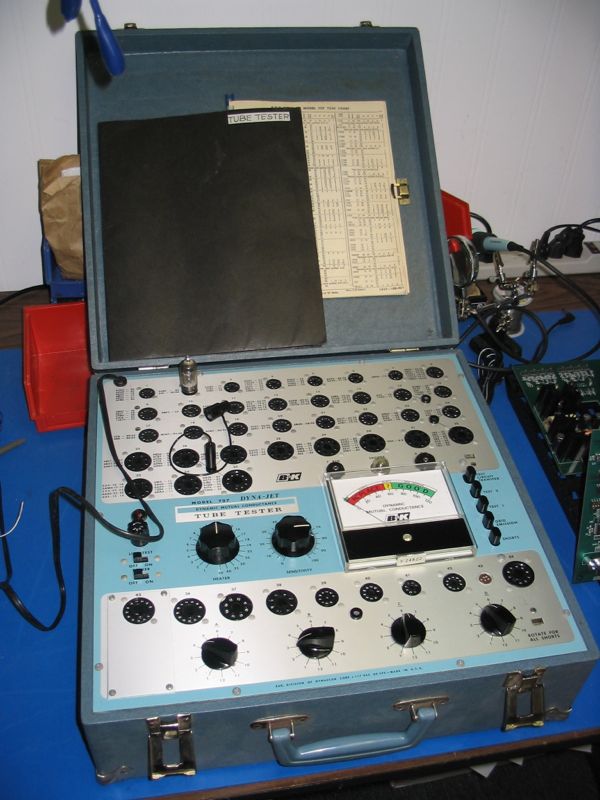


Inside the Dyna-Jet, you see a whole sea of knobs, sockets, and a few switches. Talk about a electronic tweaker’s dream! The manual inside was very explanatory on its operation, which is quite fortunate. Because of the sheer number of options, you’d never be able to just figure this baby out.
Basically, there are two sections on the Dyna-Jet for two different “families” of tubes (I assume). One switch alternates between those two sections. The first step in tube testing, though, is to look up your exact tube in the included catalog. From that listing, you find the knob settings based on a few parameters: socket number, heater (voltage), sensitivity, and switch setting.

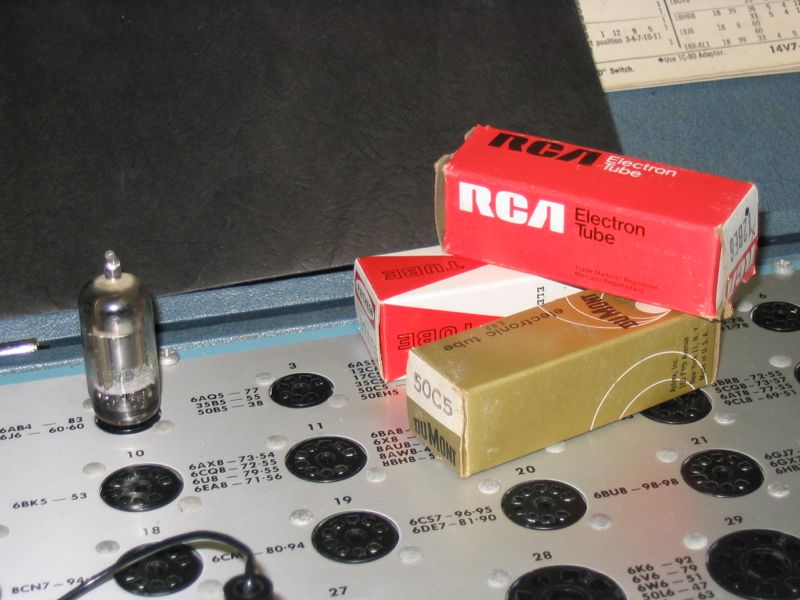
The tube set in the Spice Chest radio was:
- 35W4
- 50C5
- 12AT6
- 12BA6
- 12BE6
Of these, two were bad and one was marginal. I bought my replacements online. 4from a neat little outfit called TubeDepot.com
After replacing those tubes and the dial string, the radio worked great. Finally, the unit needed dusting inside and out.

Full Project Gallery:


Footnotes
- 1Guild “Spice Chest” Model 484 Radio, 1956
- 2Guild Spice Chest novelty tube radio
- 3a great resource called Vintage Electronics
- 4from a neat little outfit called TubeDepot.com
Leave a Reply