
My apartment complex is a “gated community”, meaning they have large iron gates that give the impression of security, thereby allowing them to charge more rent. Along with a key, each tenant receives a remote control to open said gate as well as the garage door to the apartment.
My apartment complex is a “gated community”, meaning they have large iron gates that give the impression of security, thereby allowing them to charge more for rent. Along with a key, each tenant receives a remote control to open said gate as well as the garage door to the apartment.
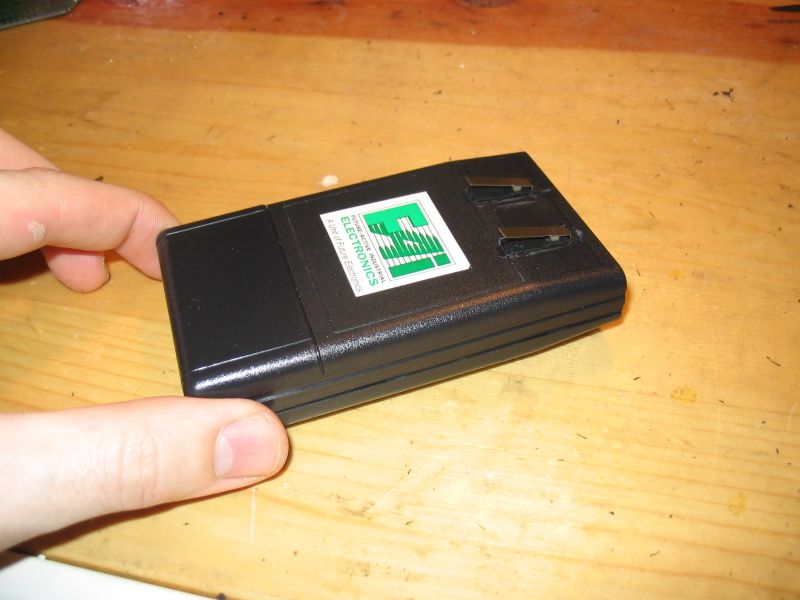
This remote is crammed into a key fob plastic case (see below).

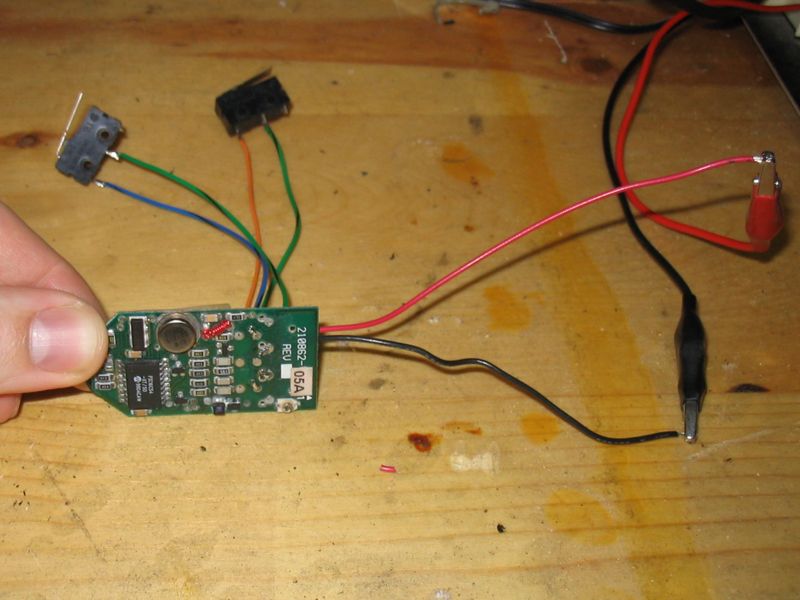
The problem is that these remotes are made incredibly cheaply. The circuit boards inside them are not conformally coated, which is an environmental sealant. Thus, over time, the board’s connections will corrode and cause problems.
Also, the switches on the remote consist of nothing more than little tin snap-like tactile momentaries, which aren’t even soldered into place. They just sit there suspended. Hence, switch closures are intermittent at best.
Needless to say, over time my remote worked poorly. I resorted to getting out of the car and getting right next to the garage door to get it to open.

On the back side of the board are the battery contacts. The remote takes two coin cell 3V batteries. They are arranged in series so that the board input power is 6V.

For one, I don’t really like having a bulky remote on my keychain, whether it’s small or not. I’d just prefer something that sits in my car anyway, so I don’t care it it’s the size of a brick as long as it works!
So naturally I took the remote board out and soldered my own nice switches to it, along with power wires.

Next step was to put together a little power converter board to step down 9V (from a nice big 9V battery) to 6V. I didn’t have a 6V regulator, but I did have a 5V. That would have to be close enough

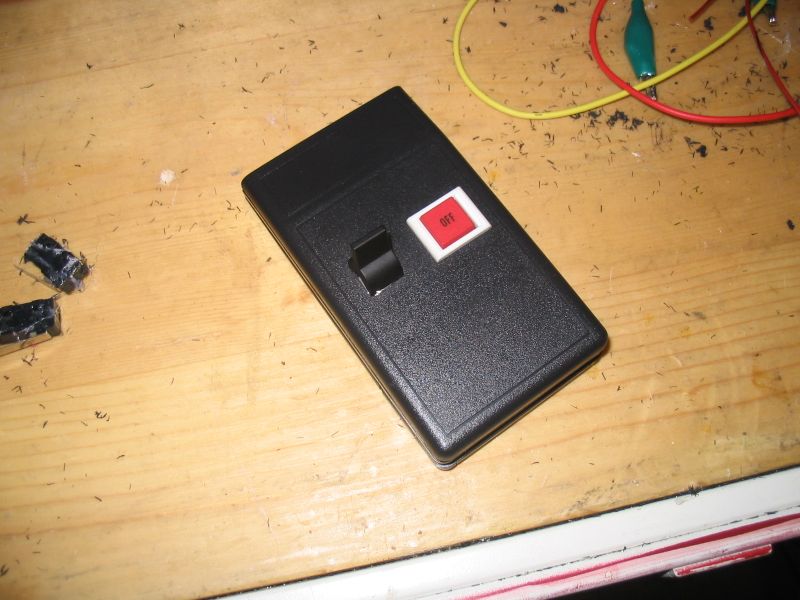
Finally, put it all in a new case and Dremeled two holes for the switches on the top side.

Voila! Works great!
Full Project Gallery (Phase 1):

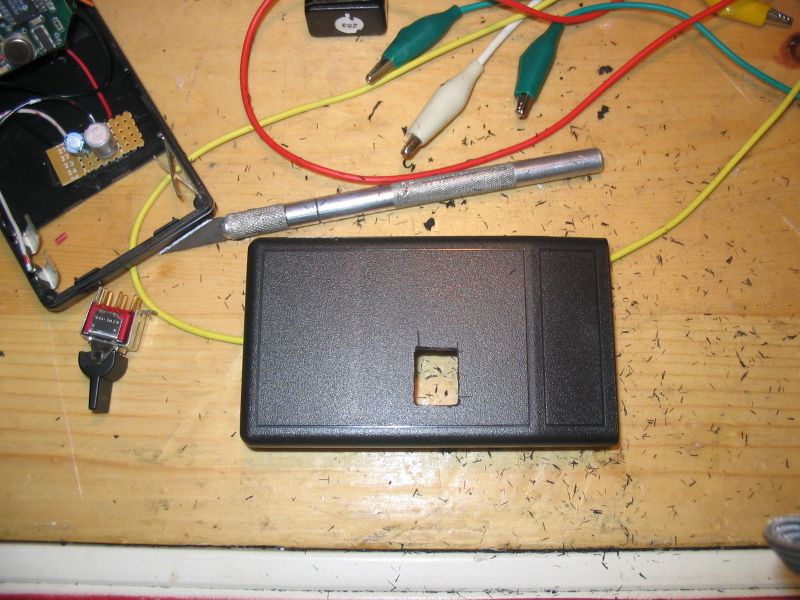
Update!
I put some new, better switches in this remote. Now it’s all clunky and cool with the big toggle switches!

Leave a Reply to patty Cancel reply